There’s nothing better than biting into a fresh, home-grown organic carrot. They’re sweet, juicy, crunchy, and incredibly healthy! A basic vegetable the world over, carrots are versatile in the kitchen. They can be a base for soups, stews and juices, and make a tasty addition to salads and stir-fries. Despite being well-known and well-loved, carrots can be a little tricky to grow- especially if you want big straight carrots like you see in the shops. Want to know how to grow perfect carrots? Read on for our simple tips and tricks- they’re easier than you think!
Always Grow Carrots from Seed
Carrots should always be grown from seed- never buy carrot seedlings! Carrots are what I call a ‘taproot plant’, i.e. they have one long main root and hundreds of tiny delicate feeder roots stemming from that taproot. Plants like this do NOT like to be disturbed at all. Like, not ever. Sowing carrot seed isn’t the easiest, but there are ways around it- more on this below.

Carrots Need Loose Soil
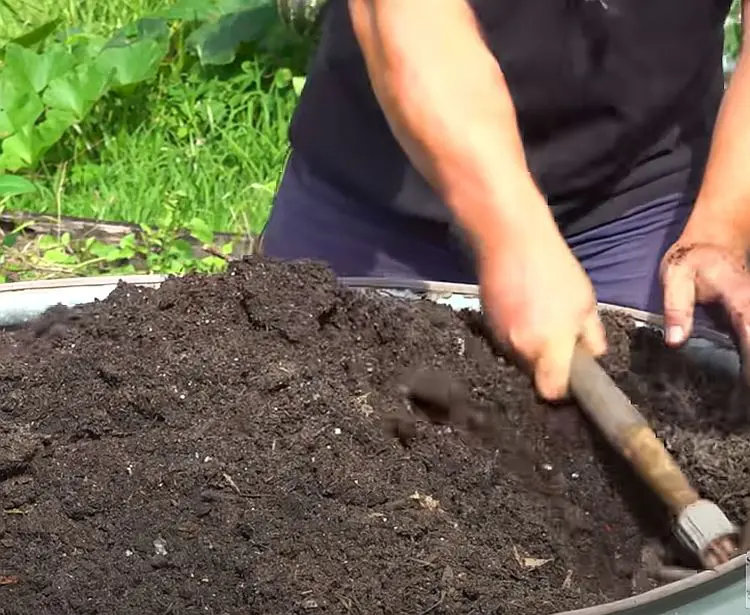
Carrots require a specific soil texture in order to grow quickly and straight- loose and free of lumps. Last year I grew carrots in high-raised drum beds and sieved the soil into it- this resulted in wonderfully plump, straight carrots. Make sure you dig over and through your soil thoroughly before sowing & remove all lumps. You’ll need to dig fairly deeply so that the long tap root can make its way easily down into the soil.
Soils that are a bit sandy are best; heavy clay soils either won’t allow good sized roots to form or will give you gnarly, twisted, weirdly shaped carrots. Add sand and/or compost and dig it through if you feel your soil is too heavy. Carrots need good drainage so the looser texture will help with this too. Carrots taste best when they are grown really quickly and the correct soil preparation enables this.
Get the Fertiliser Right
It’s often said that carrots love poor soil & don’t need fertilising. That’s not quite true: they’ll do better with some nutrition, but it needs to be fairly low in nitrogen. High-nitrogen fertilisers like fresh manures and blood & bone promote leafy growth, so will result in big bushy tops and tiny carrots- the opposite of what you’re aiming for. If possible, mix well-rotted manure or compost through the soil a month or two before planting. This will ensure a more balanced growing environment for your carrots.
How to Sow Carrot Seed
Carrot seed is notoriously difficult to handle and sow because it is so small and lightweight. This makes them hard to space evenly, difficult to keep moist, and easily lost, dropped or blown away by wind. There are 4 main ways you can combat this: oversowing, sand mixing, seed tape, and fluid sowing. All four are effective, it’s just a matter of which one suits you personally. Don’t be afraid to experiment- you might even try each method in different garden beds to see which is best for you.
Carrot seed has specific conditions required for germination regardless of how it’s sown. The seed can’t be planted too deeply or it won’t have enough energy to grow above the soil surface. Make sure your rows are very shallow before sowing. The seed needs to be placed just barely below the soil surface. The seed and surrounding soil need to be kept evenly moist throughout the germination period (which should be 10-14 days). This is quite a long germination period for such delicate seeds, so you need to maintain these ideal conditions for a relatively long time. 26 degrees celsius is the ideal soil temperature to germinate carrot seed.
If the soil dries out so will the seed, because they’re sown so close to the surface. If there is too much water, the seeds can quickly drown and rot. Unless you’re fluid-sowing, it’s a good idea to water the soil before sowing, sow your seed, then place a plank of wood over your rows to keep the moisture in and stop the seed drying out. Once the seeds have germinated (i.e. you can see them above the ground) then remove the plank.

Oversowing. This is the easiest way to sow carrot seed. As the name suggests, simply sow too many. Instead of trying to space them out individually, sow the seed thickly in a line along your rows. You’ll need to be vigilant with thinning them out as they grow, but you’ll definitely get a crop.
Sand mixing. You can mix carrot seed with sand to make it easier to sow. Simply put your carrot seed in a bag with a small amount of sand and mix them together before sowing. This will make the seed much easier to sow plus help with spacing. You’ll still need to thin the seedlings out once they’ve grown, but the seed will be much easier to handle and you’ll get better spacing.

Fluid sowing. This is where the seeds are mixed into a thick liquid or paste, and sowed on to the soil with a piping bag. It’s literally just like icing a cake. Germination and establishment rates are really good with this method, because it gives the best spacing and maintains an even moisture level.
It’s easy to make your own fluid sowing medium using cornflour and water. Mix 100 grams of cornflour (corn starch) and water together to make a paste. Once smooth, add more water up to a litre ensuring there are no lumps. Next, heat this mixture gently, stirring continuously until it thickens. Leave it to cool, then add your seeds and mix well. Add more water if the paste is too thick. If the seeds sink in the paste then you need to thicken it with more cornflour. The mixture will keep for a few days in the fridge if you have made too much. If you don’t have a piping bag available, an ordinary plastic bag with the corner cut off will do. With this method you won’t need to place a plank of wood over the seed, as the fluid keeps the seed moist by itself.

Seed tape. Another way to sow carrot seeds is by making a seed tape. This method gives good germination and perfect spacing so you don’t waste seed and won’t need to thin your seedlings. Essentially you need to glue your seeds on to a strip of paper towel or toilet tissue, let it dry, then plant that strip.
Make a basic glue paste with flour and water. Gently put a dab of glue on to your paper and a place seed on it. Space the seeds about 4″ (10cm) apart. Let the strips dry out, then plant them when you like. Cover the seed strips with a tiny amount of soil- the same as you would when planting the seed directly. The seed tape will keep your seeds in place until they germinate, then the paper will gradually break down into the soil.
Thin Your Seedlings
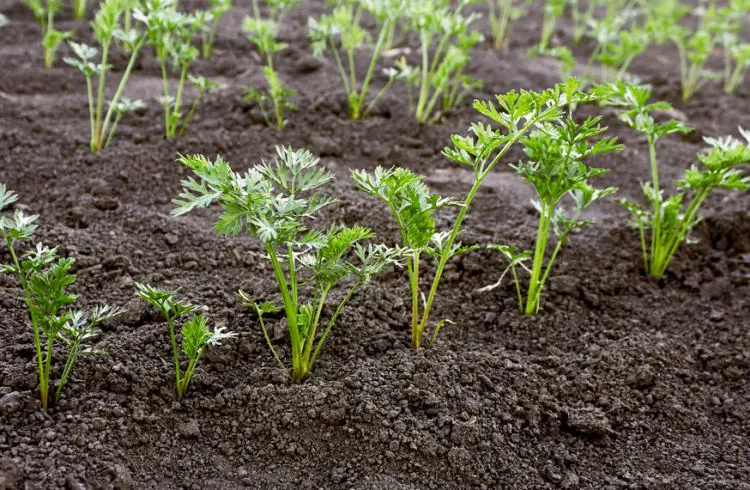
When your carrot seedlings get to about 5cm (2″) high, start thinning them out. Pull out the ones that look smaller and weaker. This gives the stronger plants more room to grow. It needs to be done at this specific stage of their growth, as this is when the stronger seedlings start to develop their feeder roots. Thinning may need to be done again once the plants are 12-15 cm (5-6″) high, as they need about 5 cm of space between each carrot at this time. Carrots removed at the second thinning can be eaten as baby carrots.

Watering
Carrots need free draining soil which is kept moist. If in doubt about your soil moisture, insert one of your fingers into the soil. If it feels dry down to the second knuckle, your soil is too dry and you need to water. It is said that carrots will grow longer and stronger from less frequent but deeper watering. I haven’t tested this theory, but it is certain that carrots (like every other vegetable) will suffer from an inconsistent watering regime.
Pest Potential
Pest and disease problems are generally minimal for carrots. As a root crop, they can attract pests that inhabit the soil and damage the taproot (i.e. the carrot itself). Carrot fly is the best-known carrot pest. Carrot flies lay their eggs in the young seedlings. Their larvae then eat and tunnel their way through the growing root, and your carrots will be ruined.

Harvesting
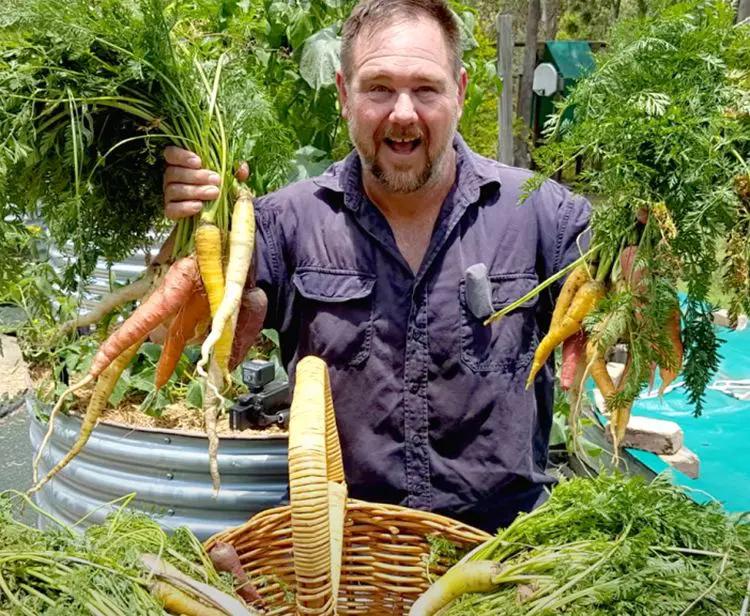
Carrots are ready for harvesting when you can see the coloured tops popping up out of the soil. Of course you can harvest them earlier and just eat them as baby carrots; this is always tempting when they look so good! If you see any sign of the plants starting to flower, harvest immediately.
To harvest a carrot, simply pull and twist the carrot up out of the soil. The pulling and twisting motions should be done together. If your soil is too heavy the carrots may snap off; in this case, watering first will help.
Once you have harvested your carrots, take the tops off within 20 minutes. If you don’t, the energy and juice will go from the root up into the tops to try and keep the carrot plant alive. Put the tops into your compost or dig them back into the bed.
Carrots are one of the most satisfying crops to grow at home- they taste so much better. They produce a lot of food from a small growing area. You can grow them in any type of garden bed and in pots, so they’re easy even if you have limited space. Now that you have all the tips to grow perfect carrots, go ahead and give them a try!