Being able to preserve your harvest for later use is just as big a part of self-sufficiency as growing the produce. Food preservation is the process of treating and handling food in such a way as to stop or greatly slow its spoilage, and prevent foodborne illness while maintaining nutritional value, texture and flavour.
When crops are in full swing and you’re picking multiple kilos (or pounds) per day, food preservation is an all-important way to maximise your harvest & save money. There are a number of ways to preserve food for later use. Depending on your individual circumstances, climate & resources, some will suit you better than others. Here we explain the quickest & easiest way- blanching and freezing.
Why Freeze
Freezing is one of the most common ways to preserve foods, and most of us do it. Not only is it cheap and convenient, but of course it delays spoilage. Freezing keeps foods safe by slowing down the enzyme activity that causes food to spoil. By transforming the water in food into ice crystals, freezing prevents microorganisms from growing by making that water unavailable. Foods can be safely kept in the home freezer for 3 to 12 months without loss of quality.
While most veggies can be frozen, those with a high water content will not thaw out nicely, so we don’t recommend you freeze them. These include lettuce, cabbage, celery, cucumber, radishes, watercress, and potatoes. These will become mushy and waterlogged once thawed, so are best eaten fresh. This is also true for tomatoes, but you can use them from frozen for sauces- here’s our detailed article on how to do that.
Why Blanch First
Blanching is the process of scalding vegetables in boiling water or steam for a short period of time before freezing. It is typically followed by very rapid cooling in very cold or ice water, then thorough draining.
While most (if not all) vegetables can be frozen without blanching, this extra step is worthwhile taking because it has significant benefits. Blanching stops enzymatic actions which otherwise cause loss of flavour, colour and texture. In addition, blanching removes surface dirt and microorganisms, brightens colour and helps slow vitamin losses. It also makes everything easier to pack & fit into your freezer, as blanching softens harder vegetables (like broccoli & asparagus) and wilts greens.
Vegetables frozen soon after harvest are said to be in peak condition. Despite some 15-20% of vitamin C being lost due to blanching & freezing, they will remain more nutritious than those sold in many large-chain supermarkets. This is because said ‘fresh’ vegetable products have often been poorly stored, over-handled, and stored at unsuitable temperatures.
It is critical to use the correct blanching time for each vegetable (see below). Under-blanching stimulates enzyme activity, so is worse than no blanching at all. Over-blanching leads to partial cooking and causes loss of flavour, colour, vitamins and minerals.
- Artichoke Hearts: 6 minutes
- Asparagus: 2 to 4 minutes depending on the stalk thickness
- Beans (Green or Wax): 3 minutes
- Broccoli (cut into 1-inch pieces): 2 minutes
- Brussels Sprouts: 3 to 5 minutes, depending on size
- Cauliflower (cut into 1-inch pieces): 3 minutes
- Kohlrabi (cut into 1-inch cubes): 1 minute
- Leafy Greens: 1 to 2 minutes (use the longer time for collards and cabbage)
- Okra: 2 to 3 minutes, depending on size
- Pea (in the pod): 2 to 3 minutes, depending on size
- Peas (shelled): 1.5 minutes
- Chayote Squash: 2 minutes
- Summer Squash: 3 minutes
How to Blanch & Freeze
Blanching and freezing is a simple process that doesn’t require any special equipment. Here’s our step-by-step guide that makes it even easier for you.
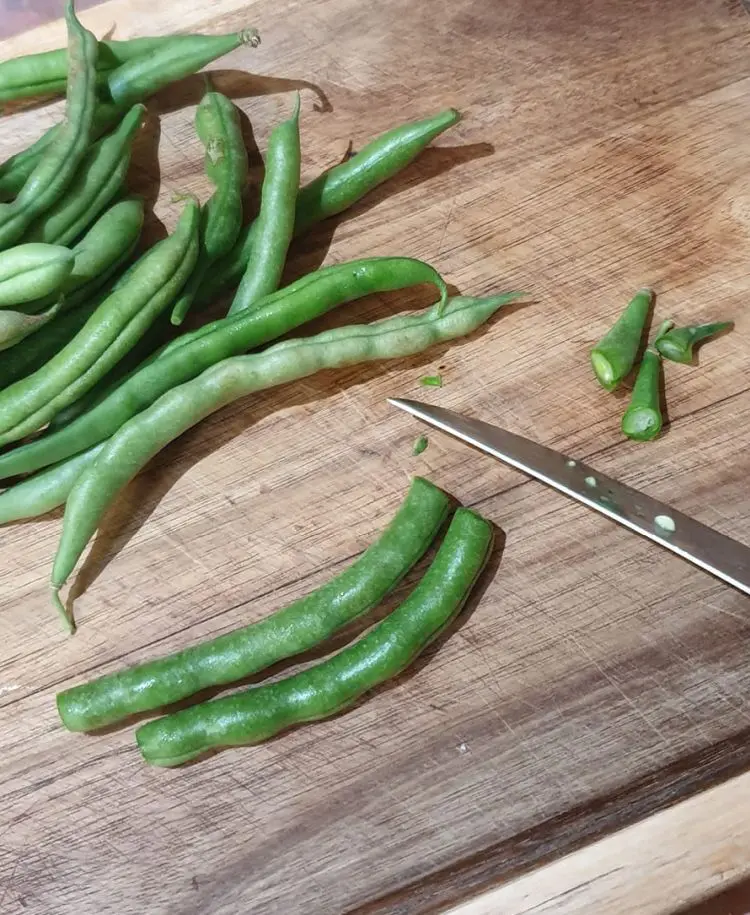
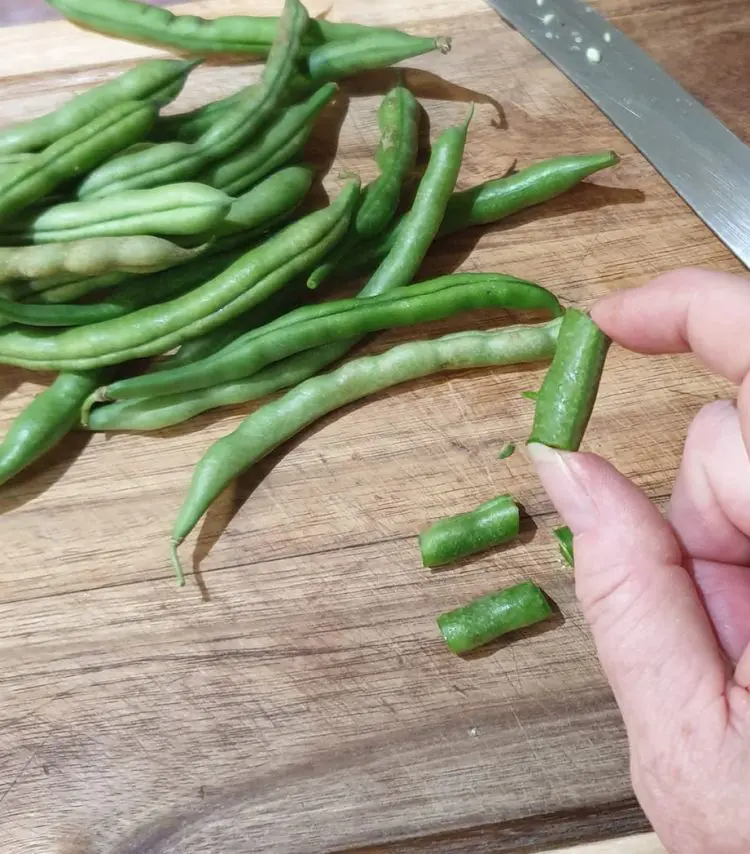
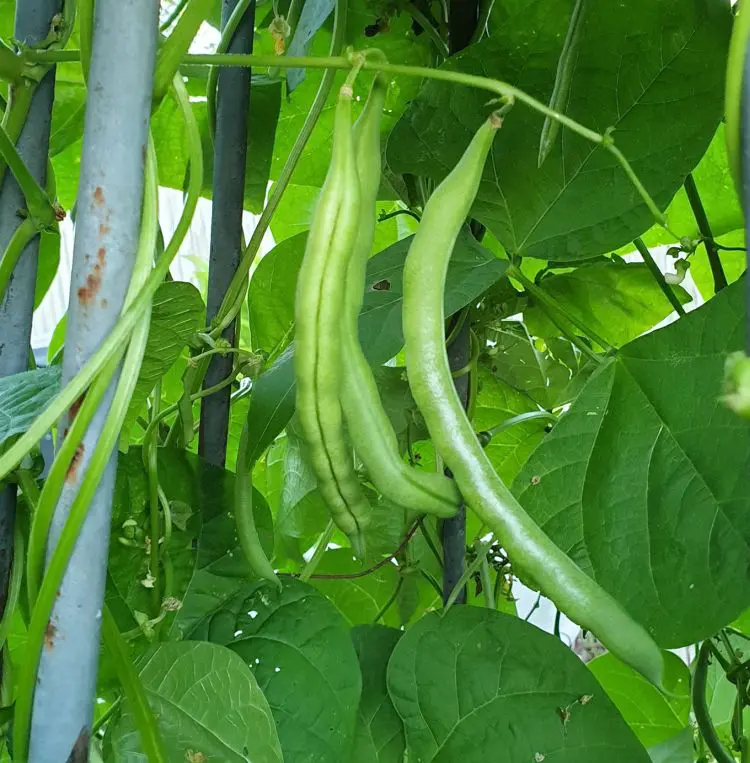
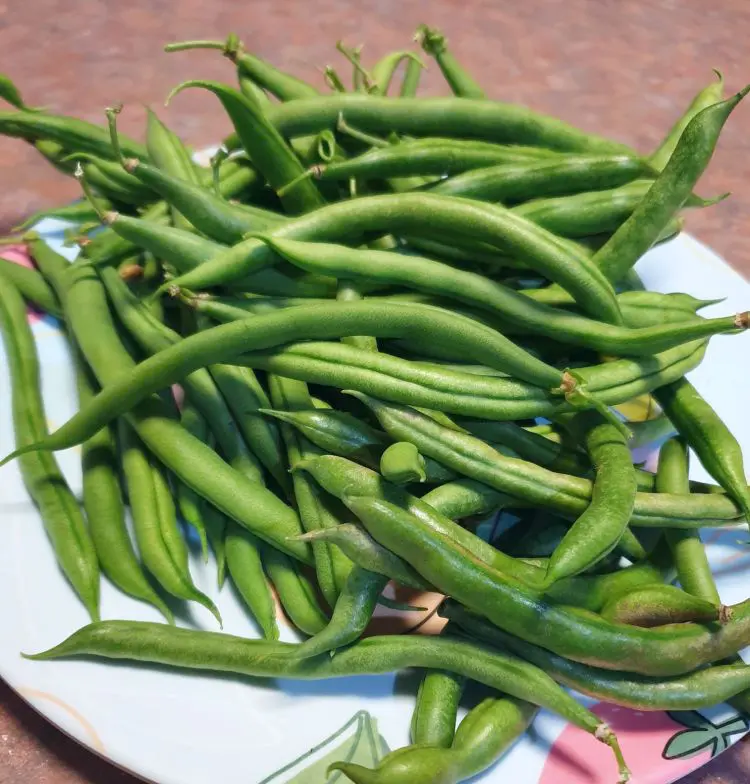
Wash and prepare your vegetables. With the beans I’m using as an example here, I’ve removed the ends then cut them into pieces. I find that about a colander full is a good amount to blanch at once. Next, label the bag or container that you’ll use for the freezer.

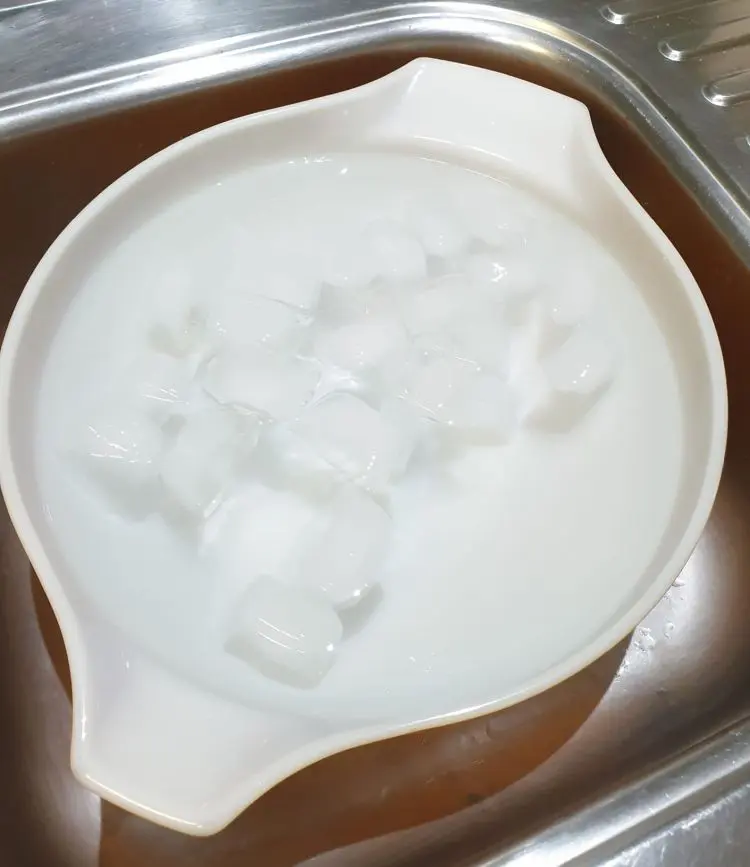
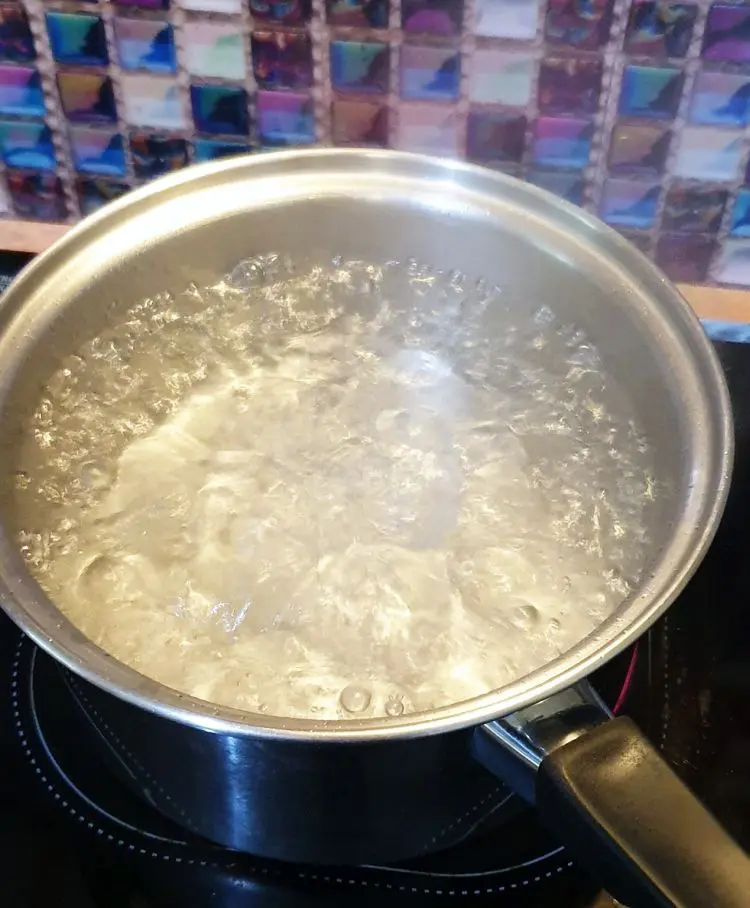
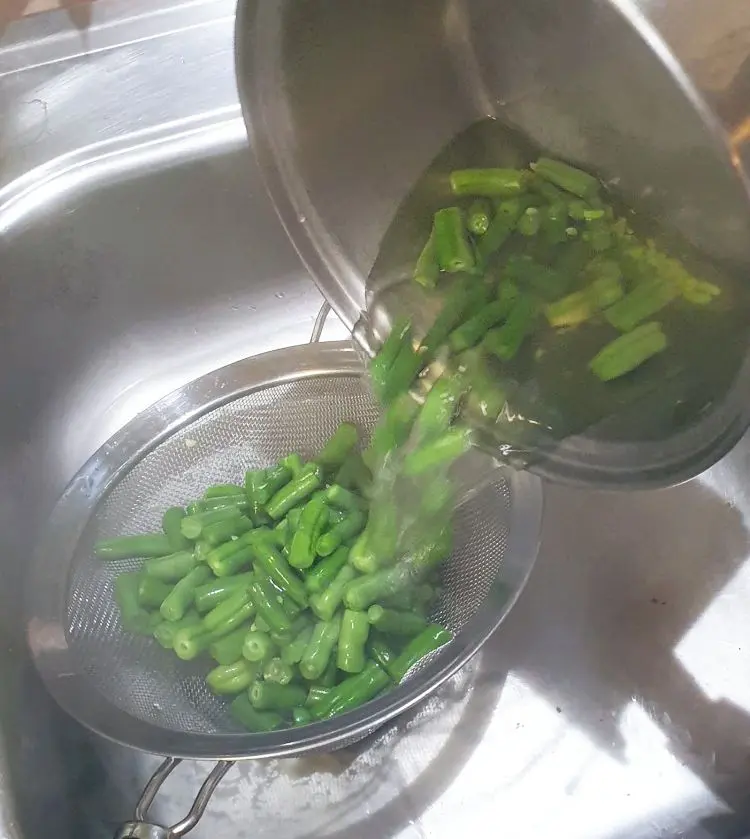
Take a large bowl and fill it with a good amount of ice cubes, then fill that bowl up with cold water. You need to do this beforehand, because you need to get the veg into the ice water quickly. Bring a pot of water to the boil.
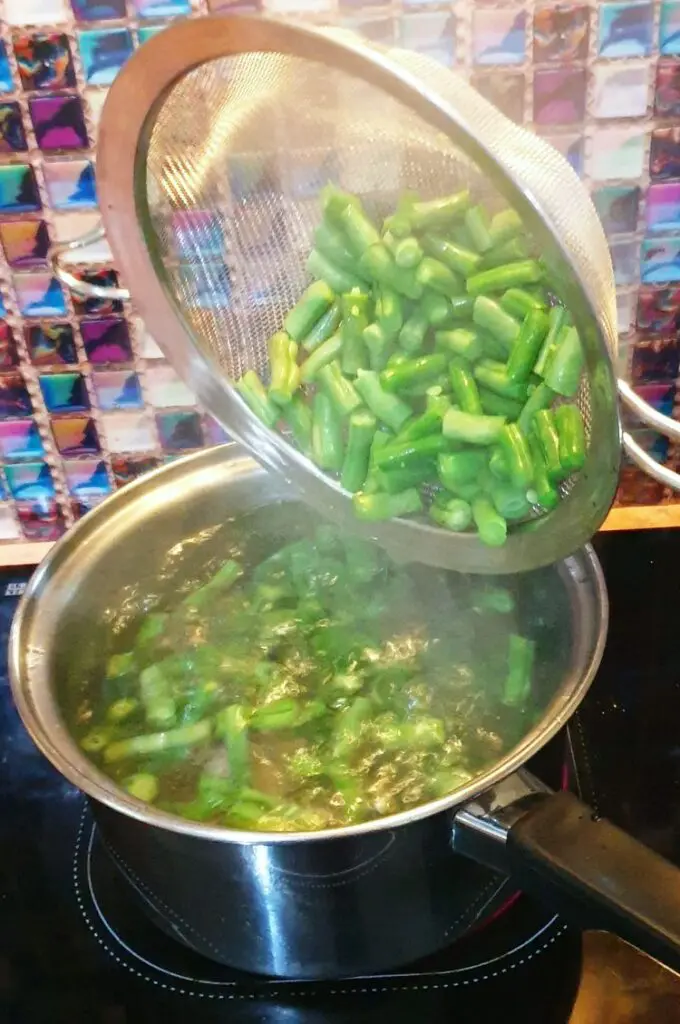
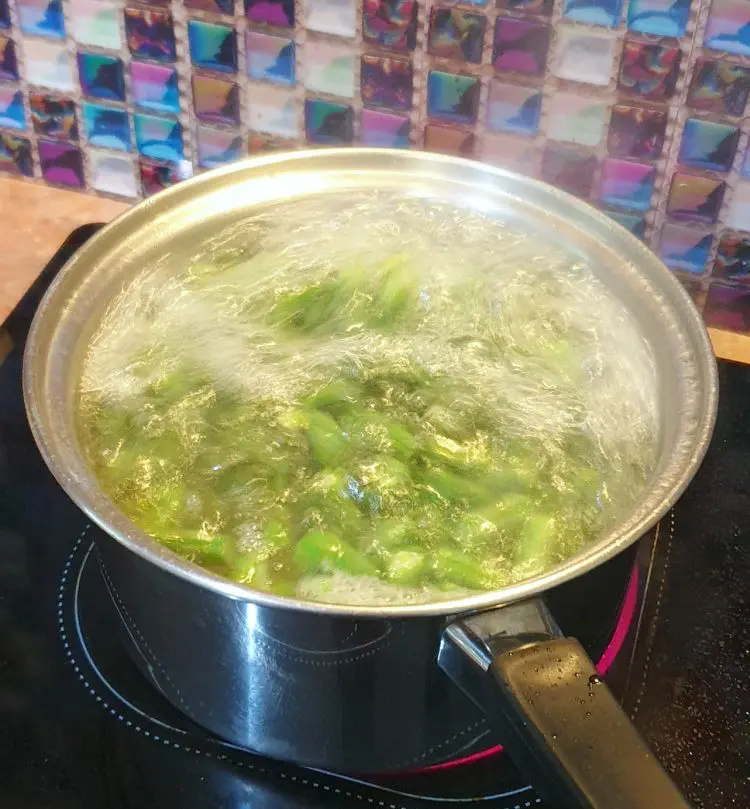
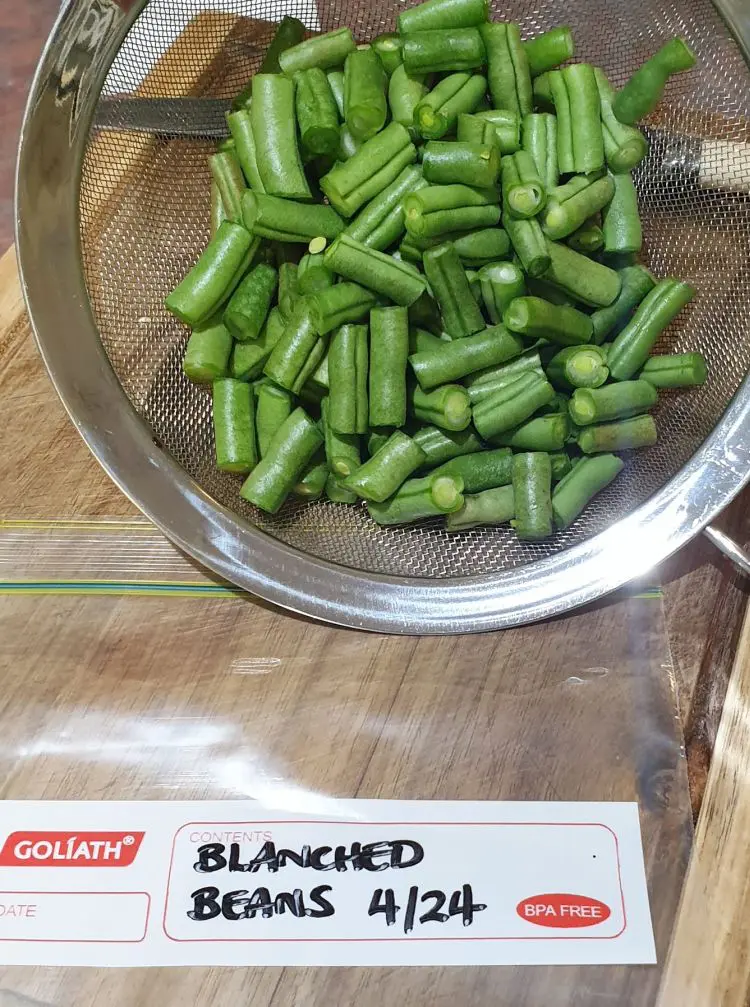
Boil for the appropriate amount of time. Start the timer once the water comes back to the boil, not as soon as you add the veggies to the water. As soon as the boiling time is up, drain the veggies quickly back into the colander.
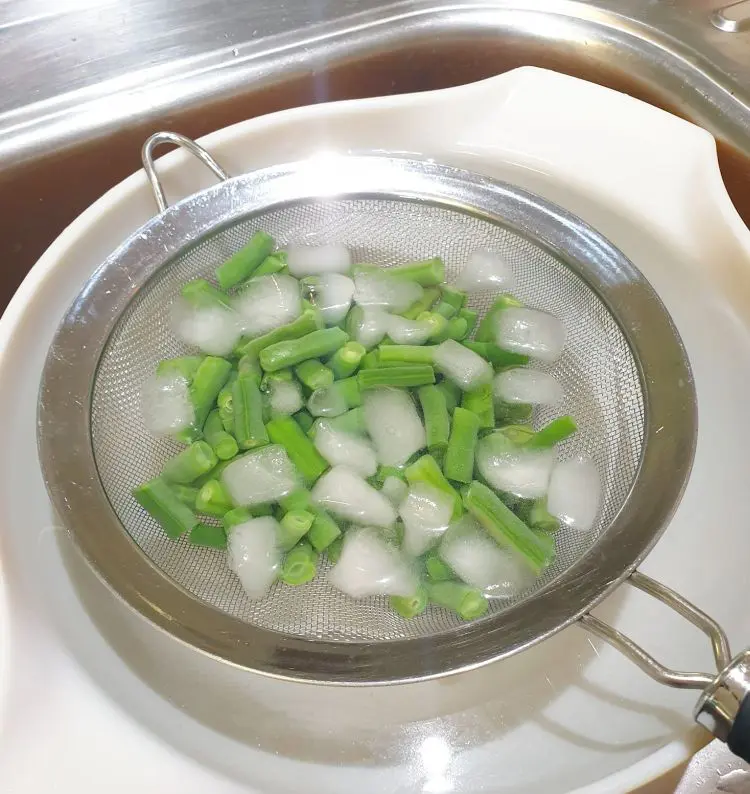
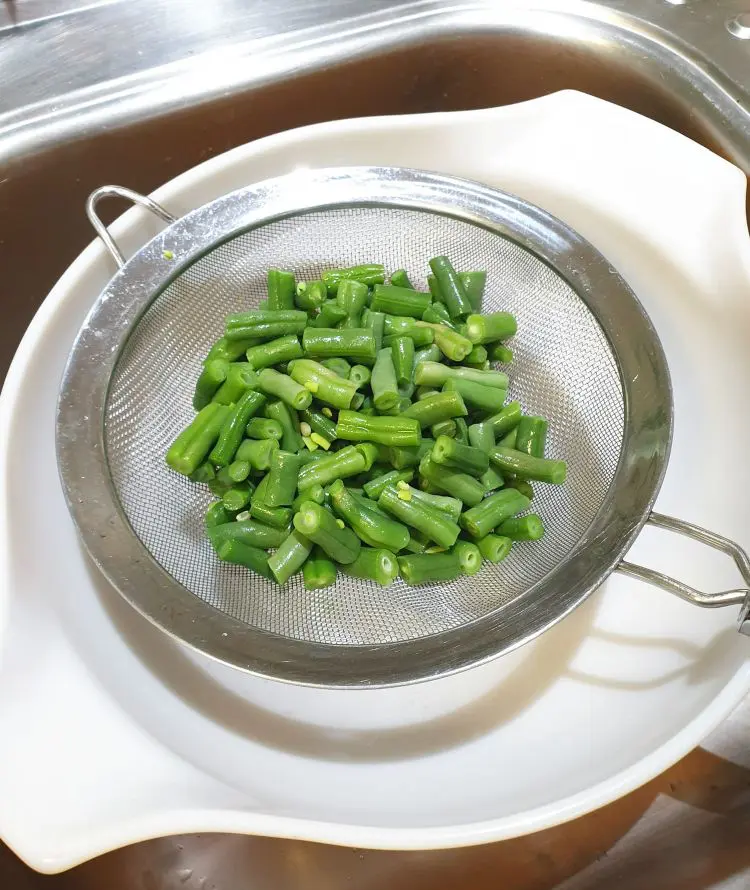

Immediately soak the colander of veggies in the bowl of ice water. Swoosh them around so that they cool down (and thus stop cooking) as quickly as possible. Next, strain the veggies back into the colander and leave them to drain thoroughly. Once drained, remove them to your bag or container, push out as much air as possible and freeze.
Tips for Freezing Food
- Using appropriate packaging such as freezer bags and plastic containers will help protect foods and prevent freezer burn.
- Avoid placing hot foods straight into the freezer, as this will raise the freezer temperature and may adversely affect other foods. Cool foods before freezing.
- Make sure that frozen food is completely thawed before cooking. Food that has been frozen and thawed should never be refrozen.
- Freezers should be kept at or below -18°C
- In contrast to refrigerators, deep freezers should be packed tightly as this allows the freezer to function better.