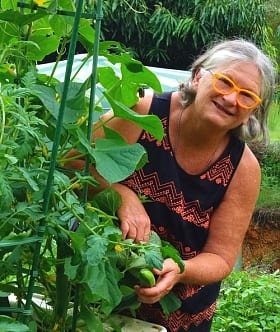
One of the most prolific fruit trees in my orchard is a dwarf navel orange tree. It’s 35 years old (don’t ask me how I know this!) and still going strong, but like all heavy producers it needs regular maintenance to stay at its best. In this article I’m going to show you how to maintain a fruit tree just like this one.
Most fruit trees should have annual attention, and the best time to give them that spruce-up is at the end of winter or the start of spring. If you should experience an extreme weather event, fruit trees will need immediate attention, as they may be waterlogged or lacking nutrients.
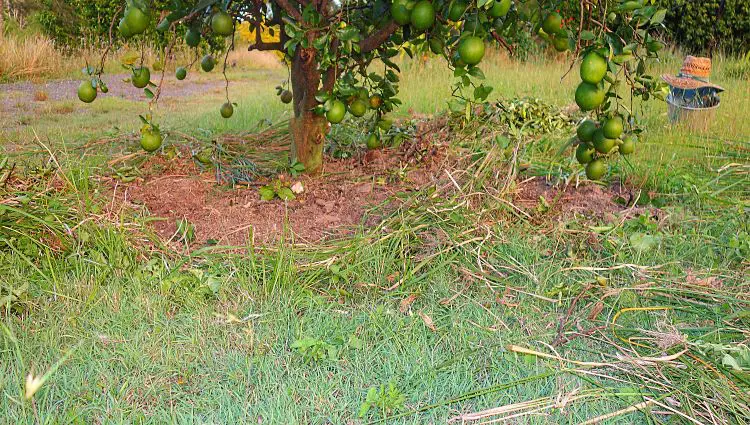
To start with, remove any weeds and grass from around the base of the trunk. I use a two-pronged weeding fork to help me lever them out, roots & all. Set these weeds aside as you’ll be using them shortly.
Pruning
If you’ve never pruned before- don’t worry, it’s easy! All you’re doing is cutting off some branches, you’re not killing the tree. In fact, pruning is a positive, because trimming a tree encourages fresh new growth. Be sure to make a clean straight cut on each branch, and use freshly disinfected secateurs. This will ensure you minimise the risk of spreading infections from one plant to another.
Firstly, prune the lowest branches, so that the leaves are at least 30cm (12″) off the ground. It’s a good idea to try to grow them down that low as the shading keeps the soil in good condition.
Then prune the rest of the branches. You can prune most fruit trees to the height and shape you need them to be. Don’t be scared to thin & trim the branches significantly if you need to: the idea is to train the tree into the shape and density you want.
Limbs that cross over each other and point inwards should be removed, as should all dead branches. This will thin the centre & the canopy of the tree and so let in more light and air. Better air circulation has the flow-on benefit of helping with disease issues like aphids, louse, scale, bark canker and some fungal infections.
I learnt this the hard way with my dwarf orange tree. In my humid subtropical climate I need to net this tree for 9 months of the year if I want to eat its fruit. Due to said netting, tall grass and weeds grew through the tree and it became messy, overgrown and plagued with the abovementioned problems. I knew I needed to continue netting my tree, but in such a way that was better for its health. I decided to build a frame which would hold the net further away from the foliage and high enough to admit light throughout the tree. This meant reshaping the tree into a sort of oblong, 8ft wide and 5 ft high.
Rejuvenate the Soil
Add some nutrition to the soil. You can spread some compost and/or slow-release fertiliser then gently rake it in. Be careful not to disturb the feeder roots, and water it in if the soil is dry. A couple of buckets of compost plus a handful of fertiliser per tree is adequate.
Sprinkle some blood and bone (bonemeal) on the soil. Blood and bone is a powdered slow-release fertiliser which gives a good general boost to most plants and trees. A light dusting is enough, and will last for several months. Putting blood and bone under green uncomposted prunings (see next step) provides nitrogen & heat for this onsite composting process.
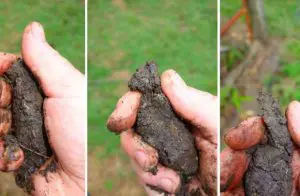
Now it’s time to use those weeds you just pulled up. The ideas is to create a new layer of fresh soil under the drip line. This is where most of the feeder roots are, so it’s important to keep this zone in good health. The weeds and grass you’ve pulled out accessed the soil fertility where they first grew, so now you’re going to recycle those nutrients back into the soil.
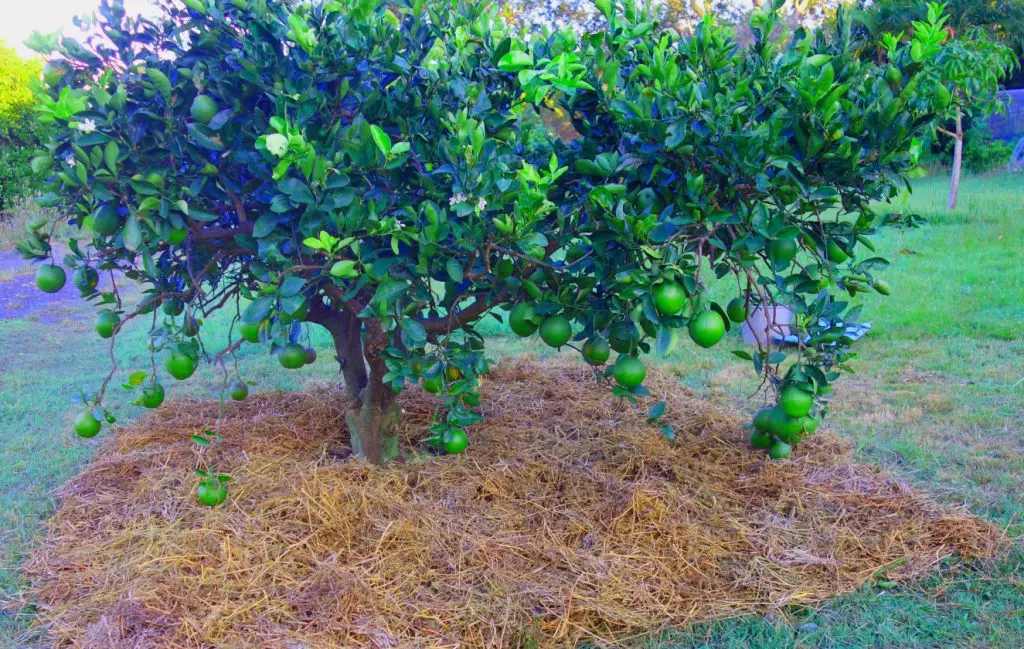
Next, cover the rest of the soil under the tree. Make it 5cm (2″) thick (thicker if you are going into a cold winter or blazing hot summer). Thee are a number of materials you can use for this top layer. Spoiled lucerne, yellow hay, dried & chipped tree prunings, and aged cow or horse manure are all good choices. If you can’t access any of these, then a thick layer of woodchips can be used.
This layer, along with the fine compost and slow-release fertiliser, will feed your tree for most of the year. Most of the nutrition will come from the compost and fertiliser, with the mulch layer giving some fertility but mainly serving to hold in moisture. To specifically feed flowers and fruit later on in the growing season, you can apply a specialised or liquid fertiliser.
Netting a Fruit Tree
If you get summer pests, strong winds or fruit loss, you might want to net your fruit trees. Young trees in particular can really be set back by pest damage in their first couple of years if not netted. My orange tree is harassed by crows and parrots every fruiting season- if I didn’t net it I’d never get any fruit!
Any netting you use needs to be pegged down on to grass-free mulch, so first make sure your mulch is extended out beyond the drip line. An easy way to do that is by laying cardboard and covering it with a heavy mulch like cypress pine wood chips.
To make a frame for your netting, you’ll need 4 steel fence posts and two lengths of 2.5″ poly pipe. This should be adequate for all dwarf and young trees. Buy the posts a bit longer than you think you’ll need, because you have to allow for growth and air circulation. Fix your posts into the ground, then simply slip the pipe over the posts so that they form a cross above the tree.

The netting itself can be affixed in a number of ways, including cable ties (zip ties) and metal wire (you might have something sitting around that you can use). Remember that it will need to be strong and long-lasting as it’ll be exposed to all the elements.
You can net trees this way whether they’re in pots or in the ground. If potted, you can use slimmer posts and simply place the posts down the sides of the pot.
It’s possible to net fruit trees without the posts and piping, but this comes with disadvantages. You can simply throw a large piece of netting straight over a tree and tie it around the base. Experience has shown me that when the net was draped directly on the leaves like this, a number of other problems arose. Direct netting made the environment inside the tree darker and more humid. This in itself caused a number of disease issues, given that my summer is already very humid. I also found that new growth penetrated the net as it grew, which meant that all the flowers and baby fruit were torn off every time I lifted the net to pick fruit. On top of that, any fruit touching the net encouraged birds to rip at it, which meant I needed to repair the netting time and again.
So this time I’ve made the frame wide and tall enough that I can walk around the tree inside the net. This will avoid all the abovementioned problems, plus allow the tree the full amount of sunlight during the summer growth season. Be mindful that if the net is attached too soon, you can lose fruit due to bees not being able to access the flowers- so make sure you time it right.